T/C Chambray Fabric,T/C Printed Fabric,Chambray Shirting Fabric,Woven Chambray Fabric Shaoxing Yingcheng Textile Co.,Ltd , https://www.sxyingcheng.com
Hello and welcome to the Liesl + Co. Hollywood Trousers sew-along! Whether you're just getting started or still gathering your supplies, no worries—this guide will be here whenever you're ready to dive in.

Over the next few days, we'll be breaking down the process into manageable steps. Here's what our schedule looks like:
**Day 1:** Getting Started, Sew the Front Pockets and Zipper Fly
**Day 2:** Sew the Back Darts, Assemble the Trousers and Lining
**Day 3:** Sew the Waistband and Finish the Trousers
We’ll be updating this post daily, so make sure to check back regularly if you’re following along day-by-day.
---
### **DAY 1**
#### **Getting Started**
As with any tailored trouser project, it’s crucial to create a muslin first to ensure a proper fit. These trousers are designed to hug the waist and hips, so adjusting the fit to your body is essential before proceeding. For detailed tips on creating a muslin, refer to Liesl’s preparation post for this sew-along.
#### **Finishing Seam Allowances (Optional)**
Before starting, you can finish the seam allowances of the trouser front and back pieces at the inseam, outseams, and rise if you'd like. Use your preferred method—zigzag, mock serger, or serger stitch. If using a serger, avoid trimming the seam allowances while finishing. Doing this ahead of time simplifies construction and speeds up the process.
---
#### **Sewing the Front Pockets (Optional)**
*Tip from Liesl:* Always double-check your fit before attaching the pockets, as it’s challenging to adjust the side seams afterward.
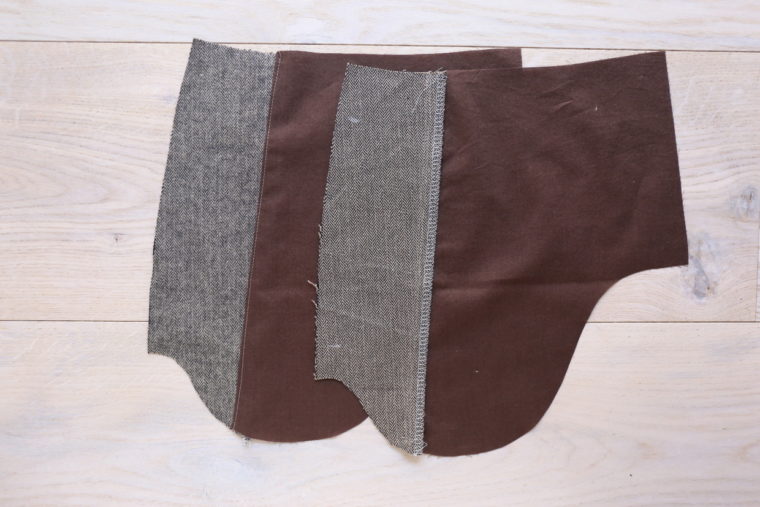
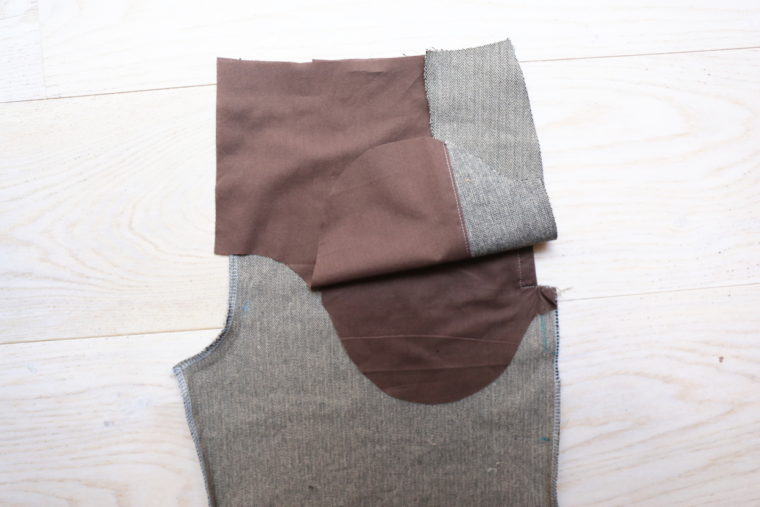
1. Align and pin one pocket facing to its coordinating pocket stay, right sides together, and sew with a ½†seam. Press the seam allowances toward the pocket stay and finish them using your preferred method. Repeat for the second set of pocket facing/pocket stay pieces.
2. Finish the inner edge of the pocket bag and pin it to the trouser front. Start stitching at the cut edge and proceed to the first dot, pivot, and continue to the second dot. Finish by stitching to the fabric edge and backstitching.
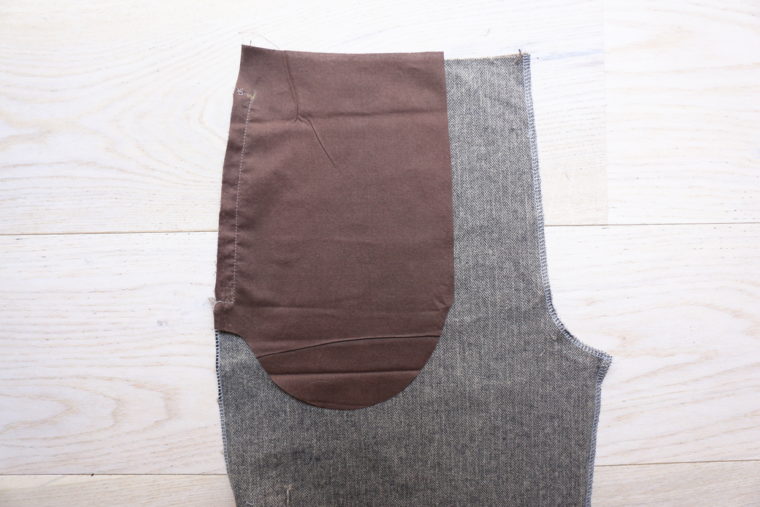
3. Clip the stitched corners at a 45-degree angle, ensuring not to cut the stitches. Turn the pocket bag to the wrong side and press the edges neatly.
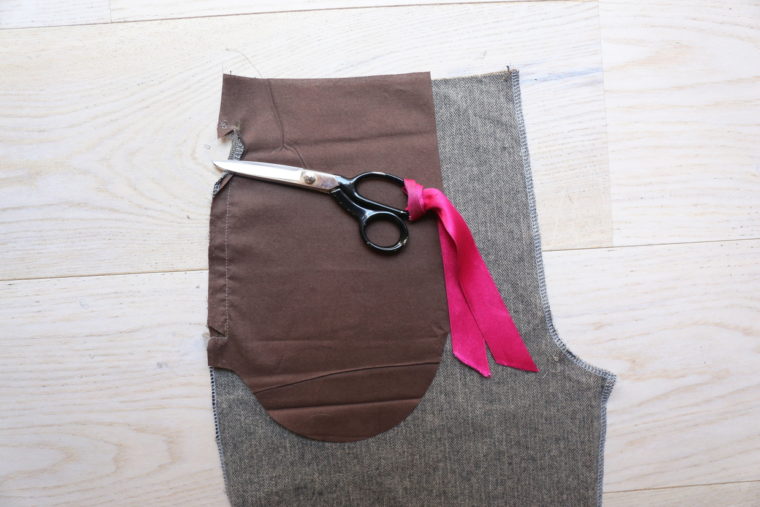
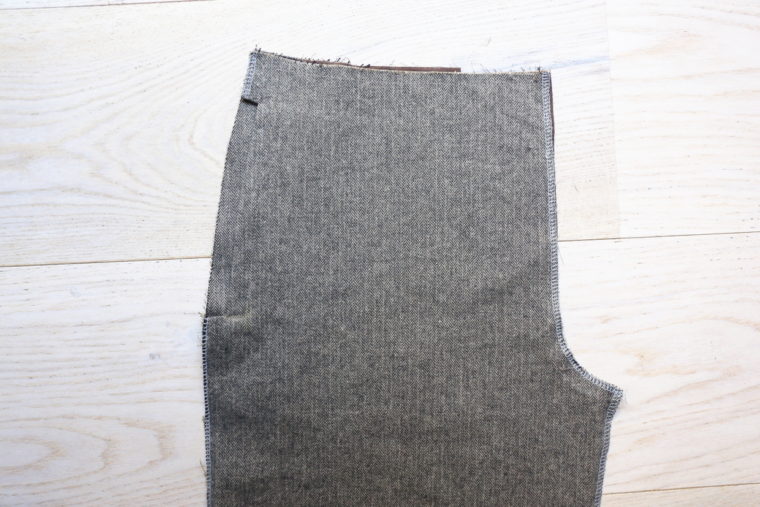
4. Topstitch the pocket opening, pivoting at the corners to create clean lines.
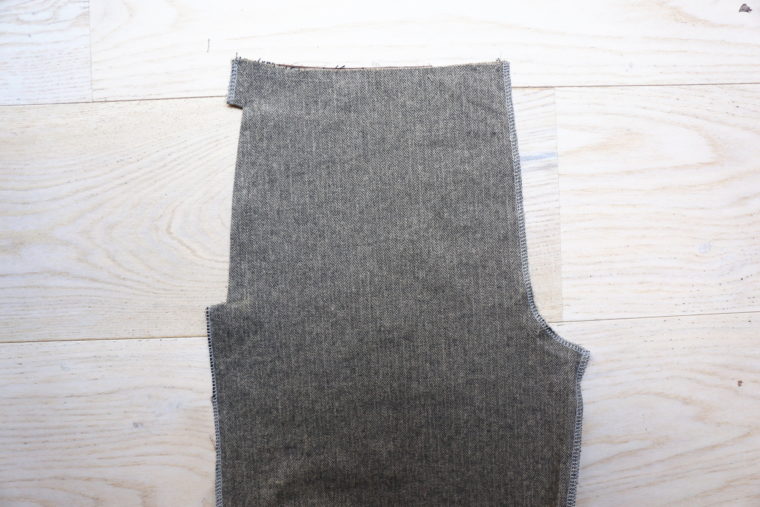
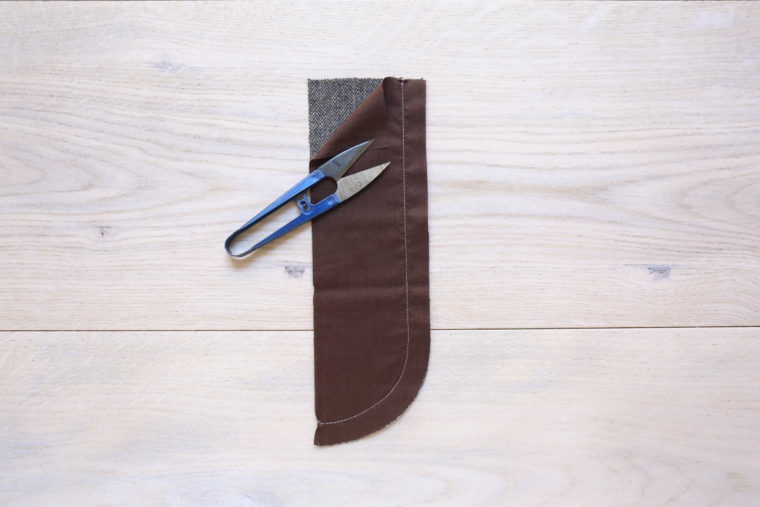
5. Attach the pocket facing to the pocket bag, ensuring alignment and stitching the inside edge with a ½†seam. Finish the curved bottom edge.
6. Pin the finished pocket to the trouser front, staystitch the waist edge, and baste the pocket to the side seam. Finish the pocket stay and attach it to the rise.
7. Repeat steps 2-6 for the second pocket.
---
#### **Sewing the Zipper Fly**
*Tip from Liesl:* Double-check your fly pieces to avoid mix-ups.
1. Fuse the fly facing to the interfacing according to the manufacturer’s instructions.
2. Pin and sew the fly shield pieces together, trim, and press. Finish the edges and baste the straight edges.
3. Finish the trouser front and back rise seam allowances. Pin the front pieces together and sew from the rise dot to the inseam dot.
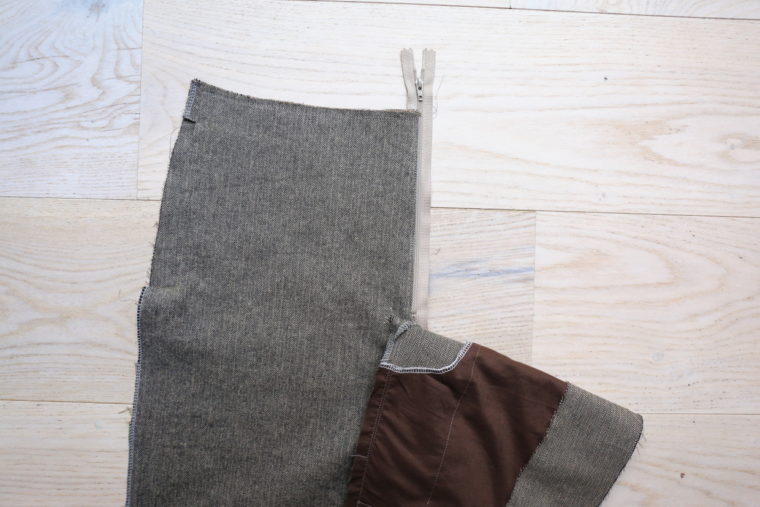
4. Attach the fly facing to the left trouser front and sew from the top to the dot.
5. Fold the right trouser front along the basting stitch, align the zipper, and baste it to the trousers. Edge-stitch the fly shield.
6. Fold the fly facing inward, press, and align the left trouser front to cover the zipper. Topstitch the fly along the guide.
With that, you've completed Day 1! Let's move on to Day 2.
---
### **DAY 2**
Welcome to Day 2! Today, we’ll tackle the back darts, assemble the trousers, and optionally add a lining.
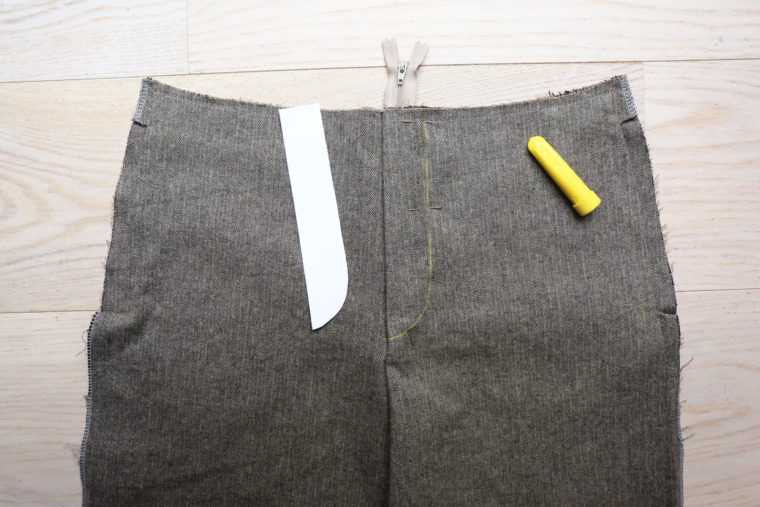
#### **Sewing the Back Darts**
1. Transfer the dart markings to the wrong side of the fabric and fold the darts along the center. Pin and stitch, leaving thread tails at the tip for security.

2. Repeat for the second dart and staystitch the waist edge.
---
#### **Assembling the Trousers**
Start by sewing the inseam, pinning the back rise to the front and adjusting the fabric tension. Complete the rise seam and press open.
1. Pin and sew the side seams, taking care to avoid stitching the pocket corners.
2. Optional: Add bartacks at the pocket openings for strength.
---
### **DAY 3**
Today, we’ll finalize the trousers with the waistband and hemming.
#### **Sewing the Waistband**
Fuse the interfacing to the waistband, fold it in half, and baste the inside edge. Finish the edge and stitch the ends, ensuring alignment with the fly.
#### **Finishing Touches**
Mark the buttonhole position, sew the button and hook, and hem the trousers to your desired length.
And there you have it—a stunning pair of trousers ready to wear!
---
Feel free to reach out if you have questions along the way. Happy sewing!